Quick start. Look at the video tutorial using an easy heart as an example. Download the template from the video here.
In this video, 150 g/m2 paper was used, so the bending was done simply by hand without preliminary scoring (thin paper is easier to bend).
Here is a description of universal instructions for assembling paper figures from templates downloaded from this site.
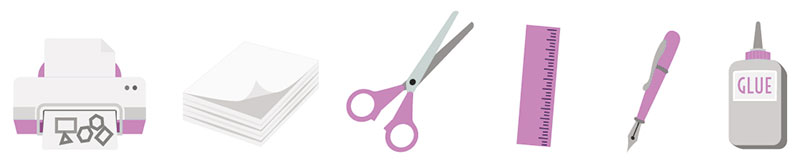
MATERIALS required for assembly:
1. Printer.
2. White or colored paper sheets of A4 or US letter.
3. Scissors or a craft knife.
4. Ruler.
5. Inkless pen or awl, or use the blunt side of a craft knife.
6. Glue stick, PVA, or double-sided tape.
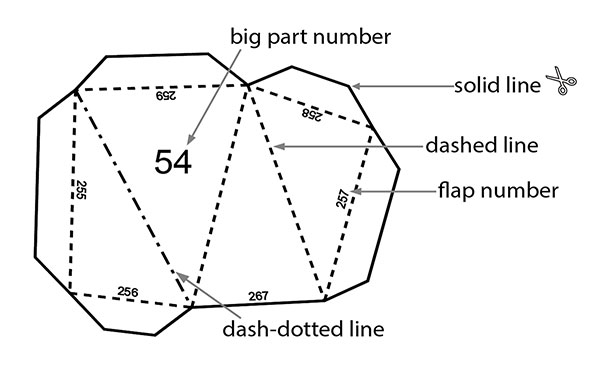
DESIGNATION
STEPS
1. Print the PDF file on paper sheets of suitable weight (from 80g/m2 to 300 g/m2).
2. Score along the dashed and dash-dotted lines using а ruler and inkless pen (awl, other similar tools).
3. Cut the parts along solid lines using scissors or a ruler with a cutter.
4. Fold parts according to the folding lines. Dash-dotted lines must be raised (mountain fold), dashed lines – concave (valley fold).
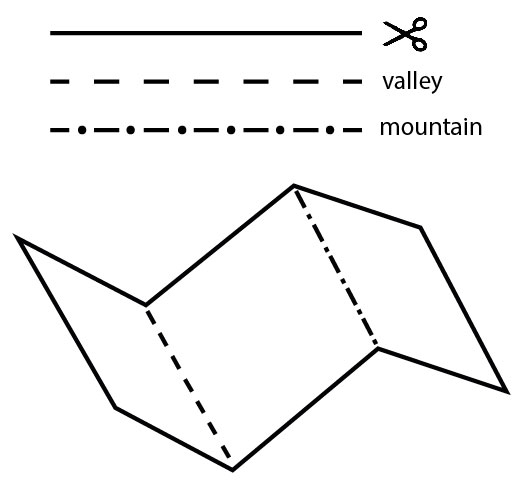
This is an important condition for obtaining the correct geometric shape.
5. Assembly. There are big numbers оn the parts – is the order in which we recommend assembling the model. Small numbers on the flaps will help you not to confuse where to glue them (just look for the counterpart with the same number). Glue the flaps to the counterparts so that they stay on the seamy side (оn the printed side). Continue to glue the model part by part following the big numbers.
Tip: Start gluing from the narrowest point of each part.

CHANGE OF SIZE
If you want to reduce the model:
1) Change the scale in the print settings. You’ll need to click the Custom Scale button. The default percentage is 100%, but this can be changed to whatever you want.
The screenshot shows the Adobe Acrobat program, you can also change the scale when printing from the browser – the “Scale” tab.

2) Or choose to print two pages on one sheet – then you will get half the size of the model. You can choose to print four, six, and so on one sheet. In Adobe Acrobat, under “Page Sizing & Handling”, select “Multiple”.
The screenshot shows printing two pages on one sheet from a computer browser:

If you want to increase the figure:
Print the template in A3 (140%), A2 (200%), A1 (280%), and A0 (400%) formats.
A4 is the original size 100%. To print in formats larger than A4, you need special printers and you will have to go to print shops.
